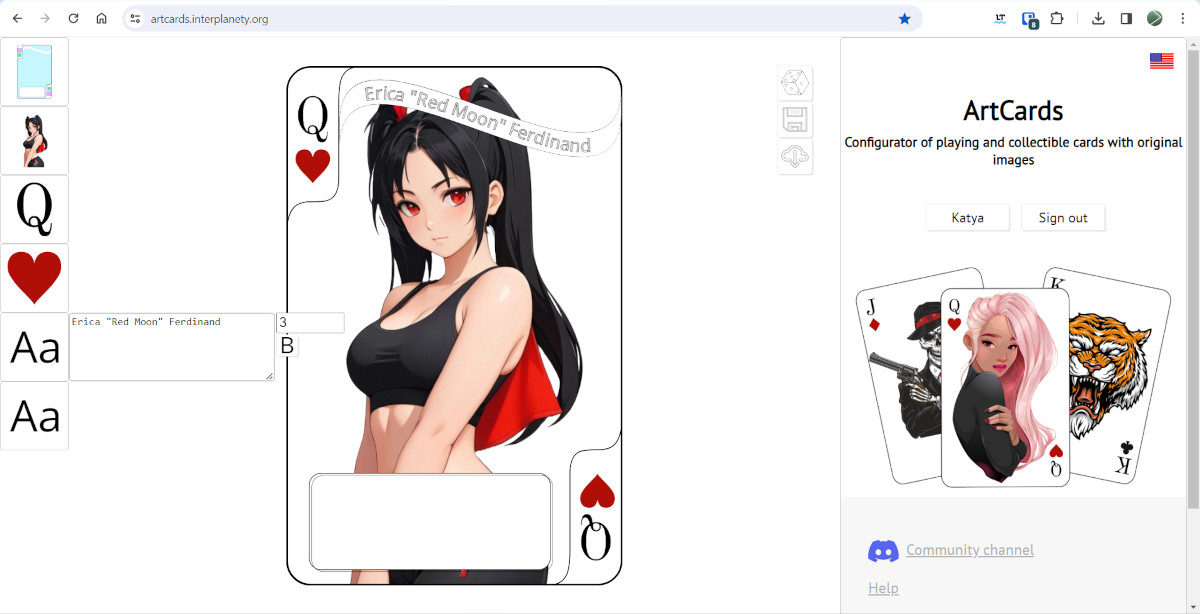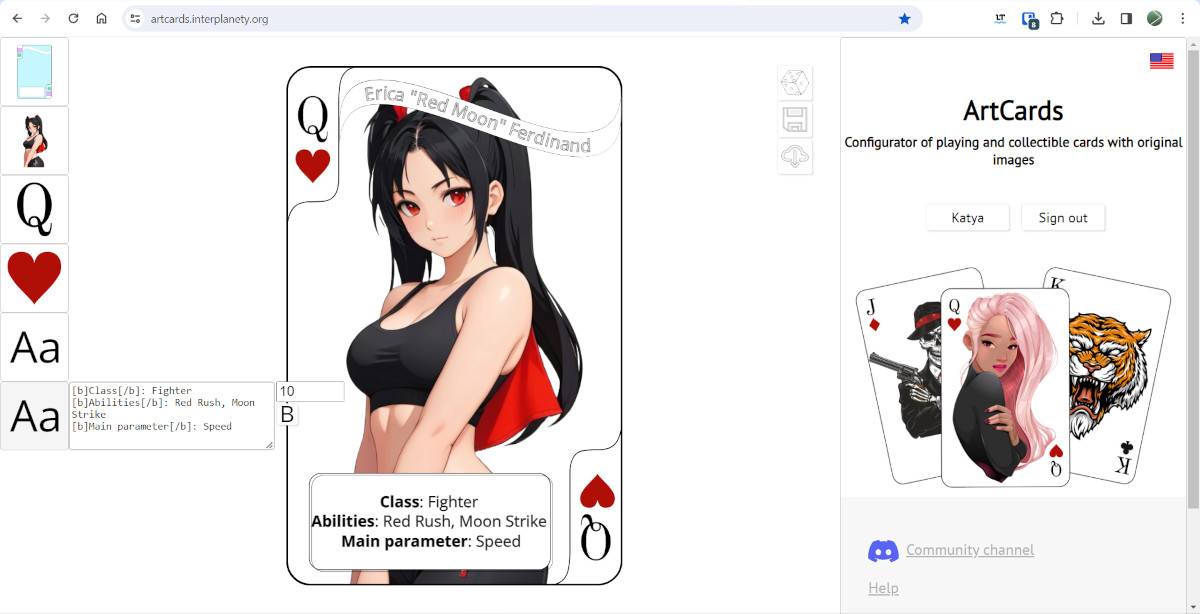

You can add text fields to ArtCards templates, into which the user can enter the text he needs when configuring the card.
Open the Inkscape vector editor.
Let's prepare a card template, providing some blocks in it for further text placement.
Create fields for the assets of the main image, denomination and suit of a card in a standard way.
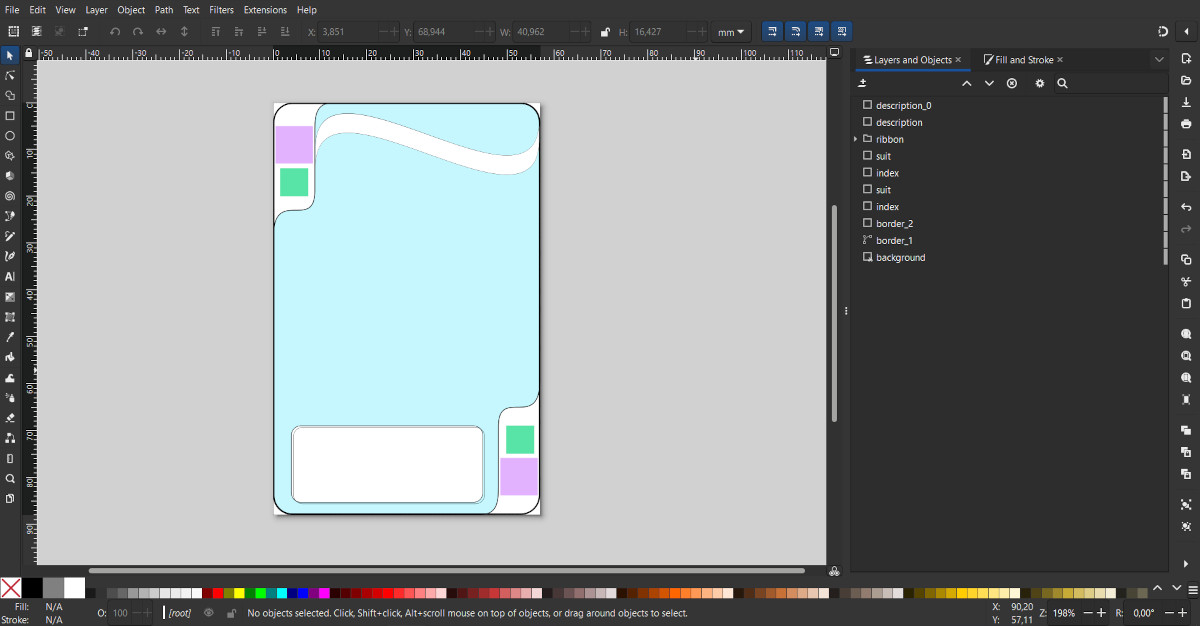
Text fields in the ArtCards card template can be of two types:
- Multiline text;
- Text along curve;
From the Inkscape tools menu, select "Text Tool".
Hold the left mouse button in the upper left corner of the area intended for placing multi-line text, and drag to the lower right corner of this area, forming a rectangle.
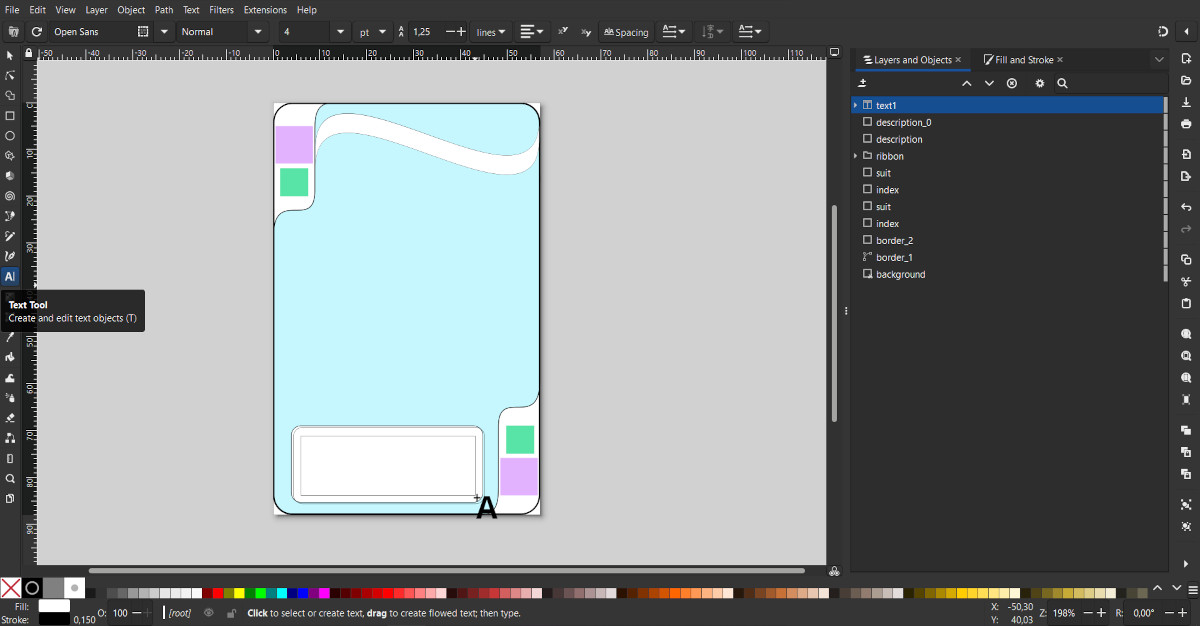
In the main panel, select a font, for example, Open Sans, and set the initial font size, for example - 4.
There is no need to set text alignment, ArtCards will automatically try to center the text vertically and horizontally.
Using the "Fill and Stroke" tool (Main menu - Object - Fill and Stroke...) you can adjust the color and stroke of the text.
Now, using the extension ArtCards Attrs you need to define this text block so that it is perceived by the ArtCards configurator.
Open the extension panel: main menu - Extensions - Attributes - ArtCards Attrs.
Set the "Type" parameter to "Text";
In the "Lib" field you must specify "text";
In the "Id" field set any convenient identifier for this block of text, for example, “description”.
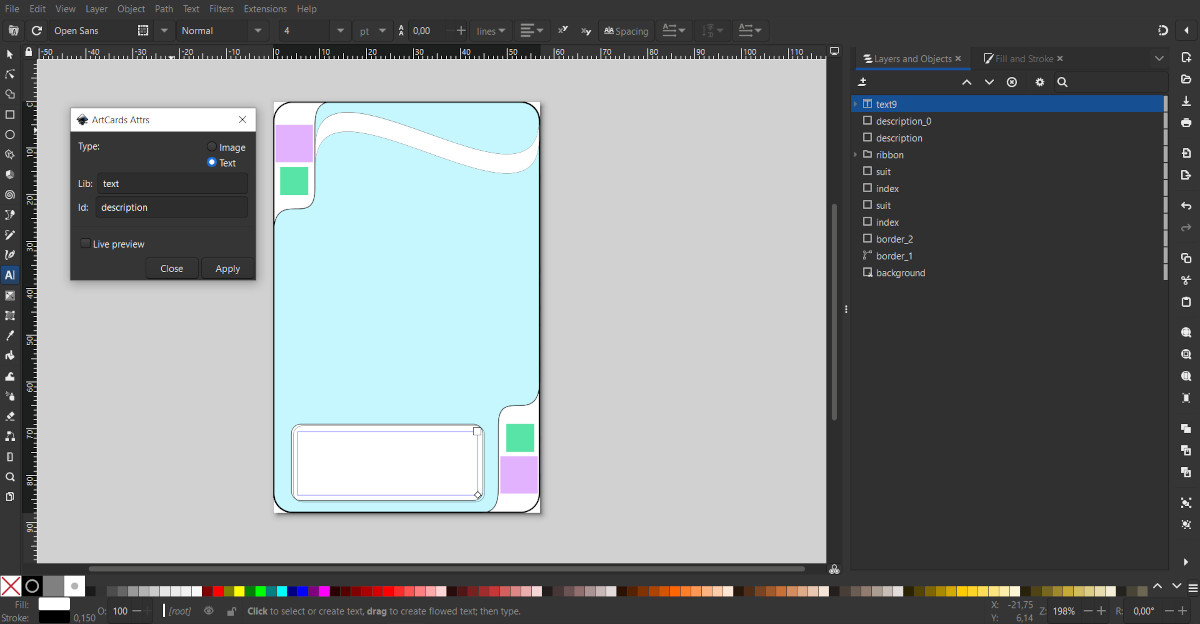
Click Apply to set the required attributes for this field and close the extension window.
If you want the text outside the outlined area to be cut off, you can set clipping for it in the common way.
First, using the Pen or Pencil tools, draw a curve along which the text will follow.
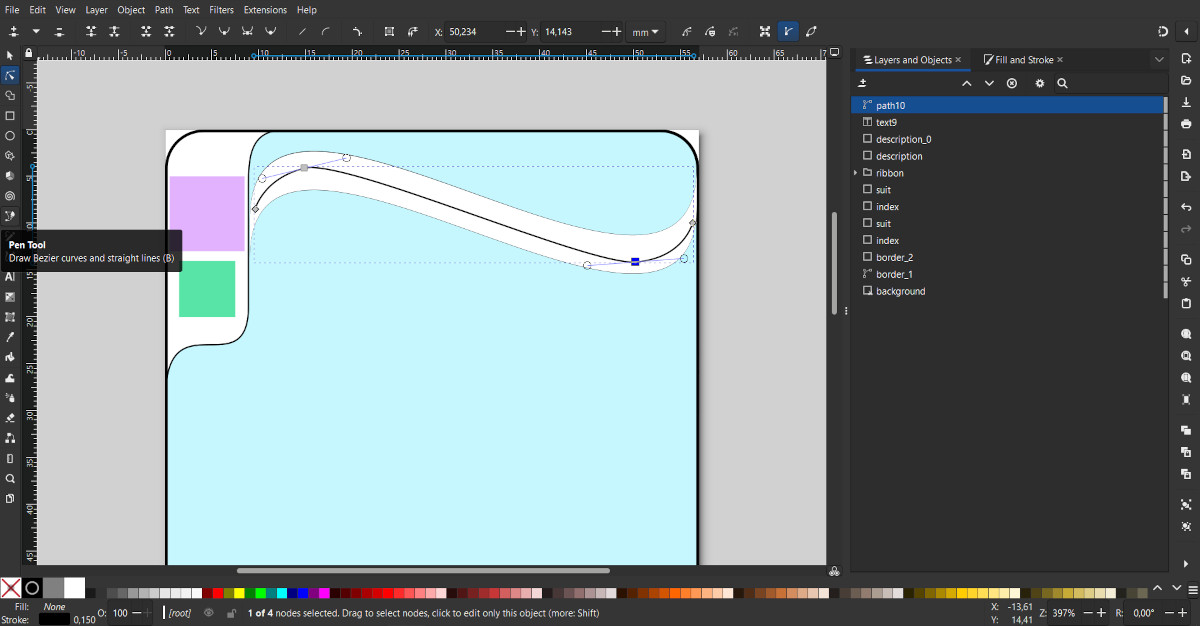
In the tools menu, select "Text Tool".
Click anywhere to create a "Text" object. For visual convenience, you can enter arbitrary text. In the main panel, select a font, for example Open Sans, and set the initial font size, for example, 8. Using the "Fill and Stroke" tool, set the color and stroke for the text.
Using the ArtCards Attrs extension, define this text block so that it can be perceived by the ArtCards configurator.
Set the "Type" parameter to "Text";
In the "Lib" field you must specify "text";
In the "Id" field type any convenient identifier for this block of text, for example, “name”.
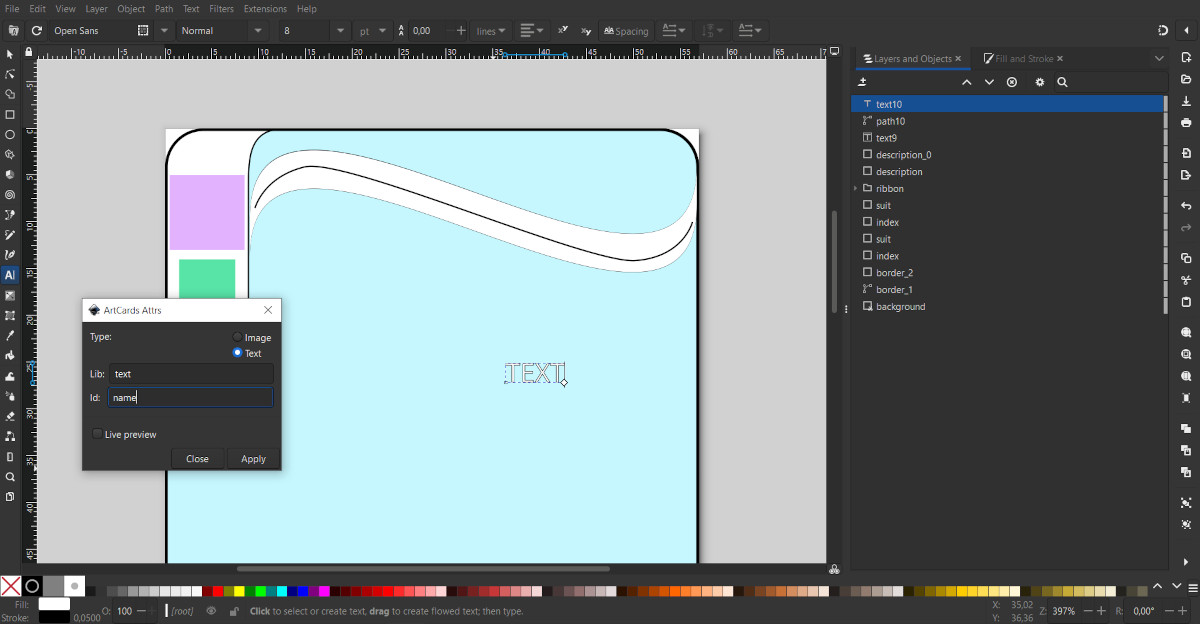
Now let's bind the text to the curve:
Select the text object and the curve.
In the main menu, select: Text - Put on Path.

After this, the text will be moved to the curve.
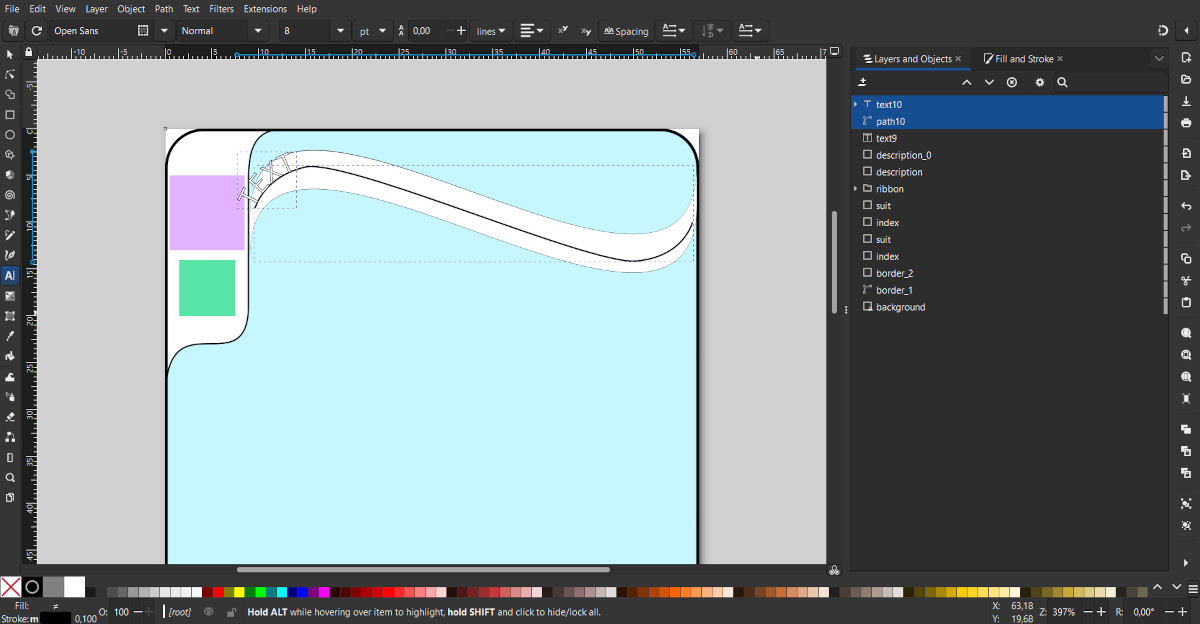
To center the text on the curve vertically and place it in the middle of the curve, let's add some attributes:
Open the XML Editor (main menu - Edit - XML Editor).
Select the <textPath> element, which belongs to our <text> object.
By clicking on the button with a plus sign, add the following attributes with the following values to the <textPath> object:
startOffset: "50%"
dominant-baseline: "middle"
text-anchor: "middle"
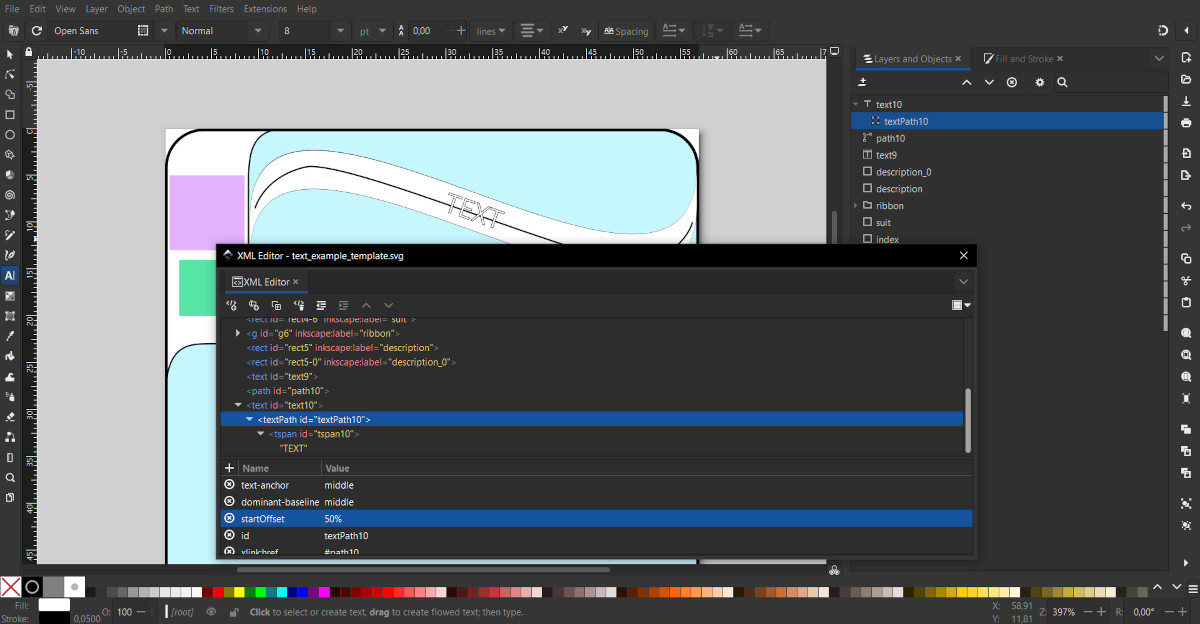
Now the text will always be centered on the curve.
Select the curve and make it invisible by setting the Opacity property to 0.

Delete the temporary text entered for visualization.
If you want text outside the curve to be cut off, you can set clipping for it in the common way.
Save the template to a file in SVG format.
Open the ArtCards configurator and load the created template.
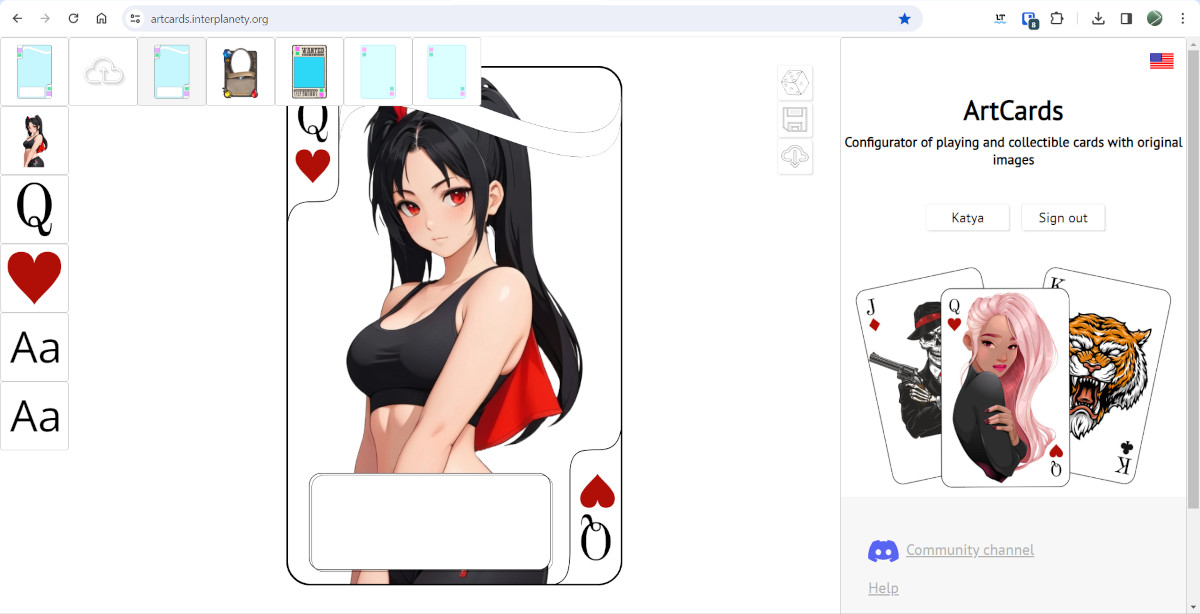
Text fields are shown in the ArtCards asset browser by the letters "Aa".
As with images, they expand when the user hover over them. Now he can type text. Also here the user can change font size.
After the user enters text, when the cursor leaves the input field, the text is applyed to the desired location on the card.
