
Using templates you can create your own creative, beautiful and interesting versions of gaming or collectable cards.
To create a card template, you can use any vector graphics editor that allows you to work with the SVG format and add attributes to objects, for example, Inkscape.
Open the Inkscape vector editor.
In the document properties, set the card dimensions to 57x88 mm.
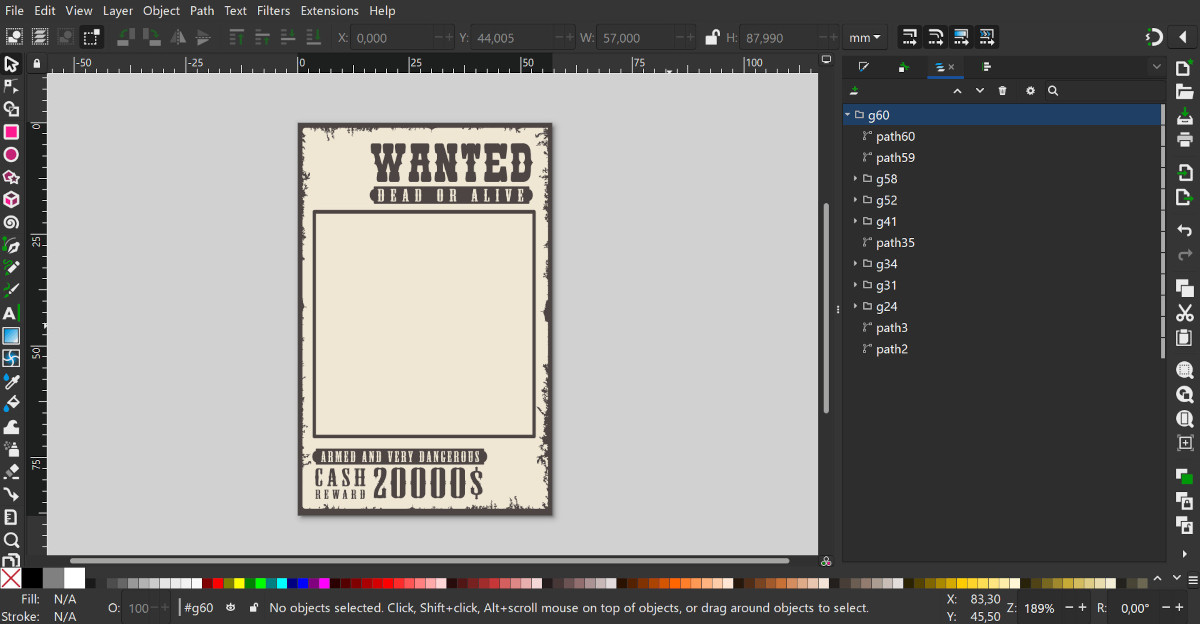
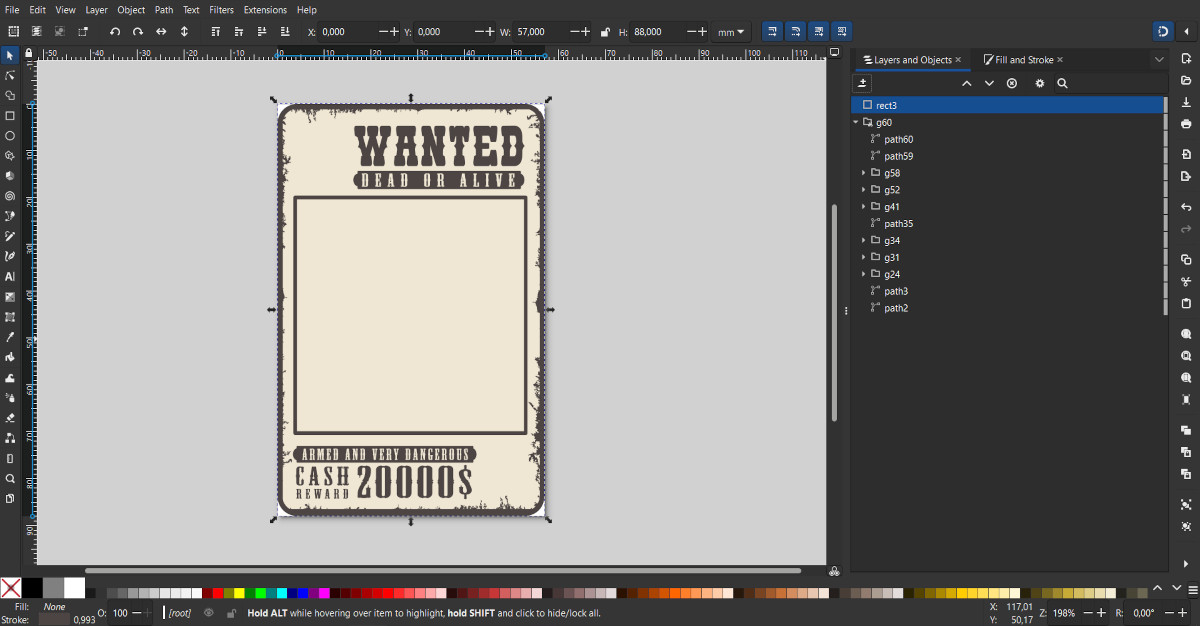
Create the wanted graphic design for the future card. The current example uses free content from dgim-studio (freepik).
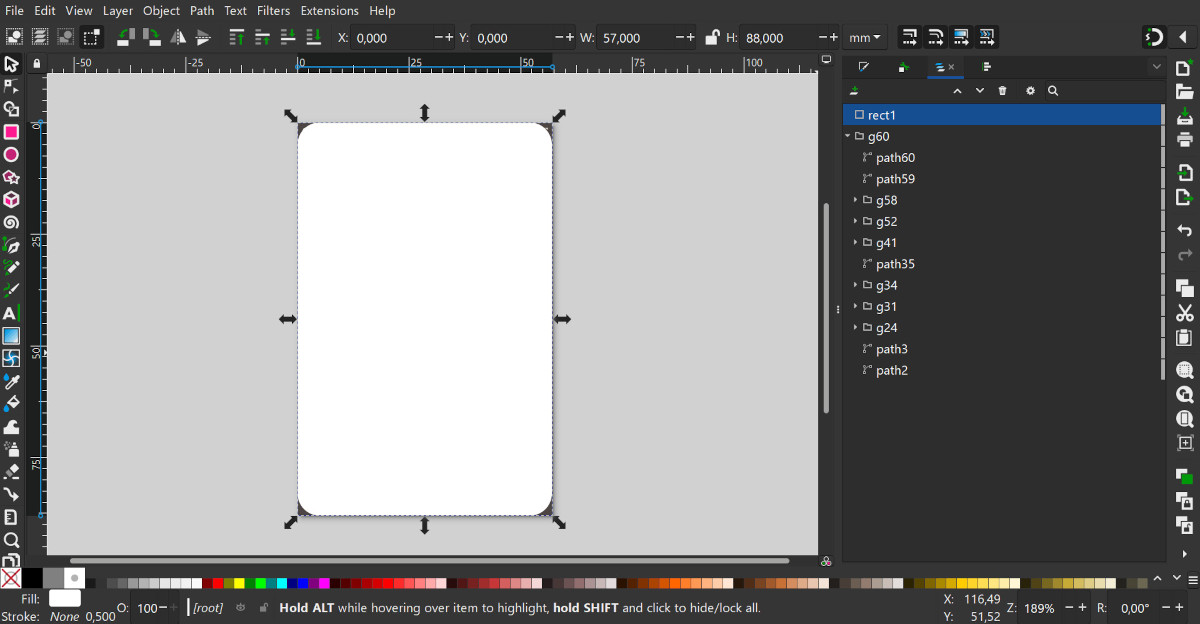
Add a rectangle filled with white to crop the content to the shape of a card with rounded corners.
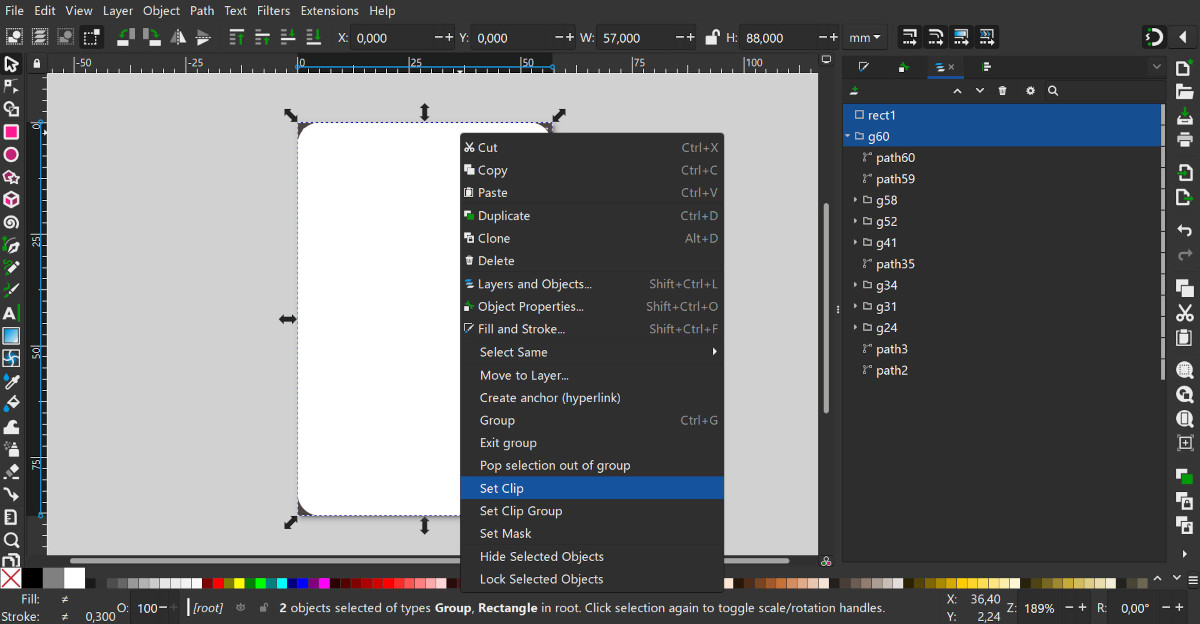
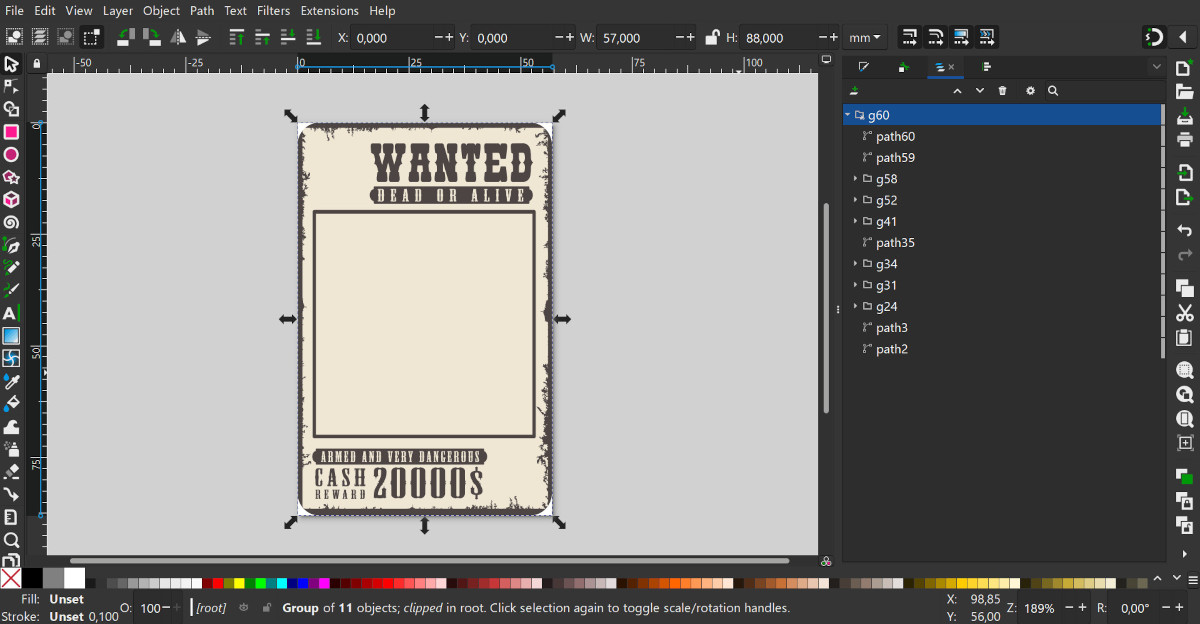
Make clipping with the main content (Set Clip).
Add a rectangle without a fill with a colored stroke to create the card border.
The basis is done, now you need to create locations for placing card assets.
Add a rectangle (rect) and place it at the location of the card denomination. The stroke and fill of the rectangle are not important for the ArtCards generator, you can use any for your own convenience.
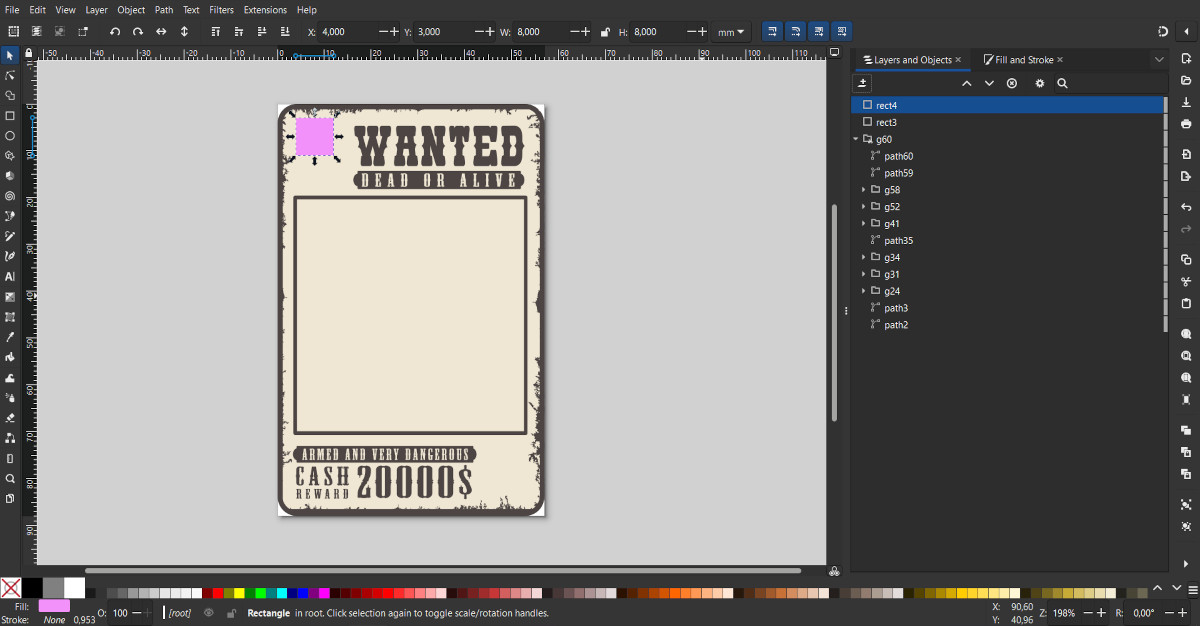
For this rectangle to be recognized by the ArtCards generator as an asset placement location, add the following attributes to it:
Using the ArtCards Attrs extension for Inkscape:
The easiest way to do this is to use the ArtCards Attrs extension for Inkscape. The extension is free and opensource. You can download the extension from GitHub.
Open the extension window by selecting from the main menu: Extensions - Attributes - ArtCards Attrs.
In the extension fields, set the following values: Type: "image", Lib: "index", Id: "index".
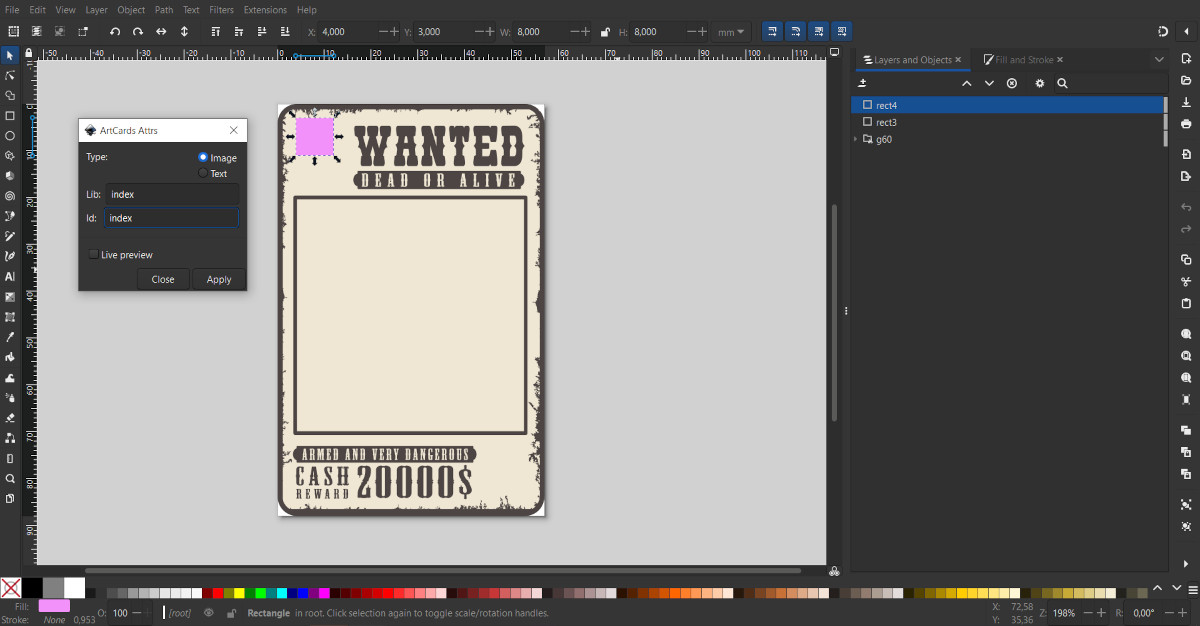
Click Apply to append the attribute to selected rect.
Adding an attribute manually:
If you can’t use the extension, you can add the required attribute manually.
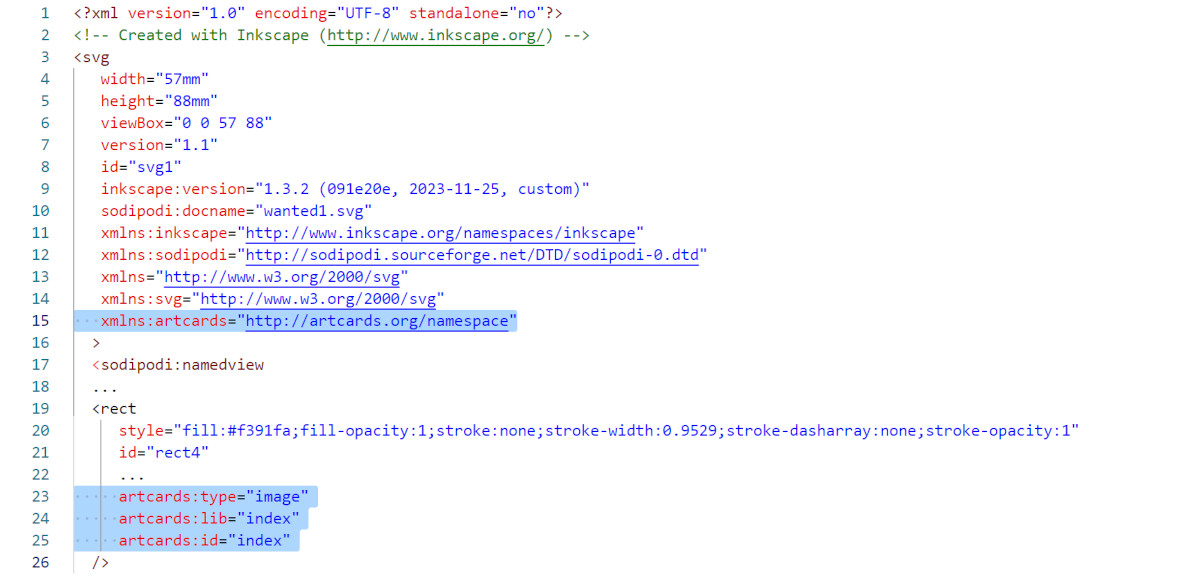
Open the template .svg file in your favorite text editor, for example in Visual Studio Code.
To the <svg> node add the ArtCards namespace string. This has to be done once to the whole template file.
xmlns:artcards="http://artcards.org/namespace"
To the <rect> node, which is made for the required asset, add the following 3 strings with the required attributes:
artcards:type="image"
artcards:lib="index"
artcards:id="index"
This 3 strings you have to add for each asset in the template.
Let's return to the template creation.
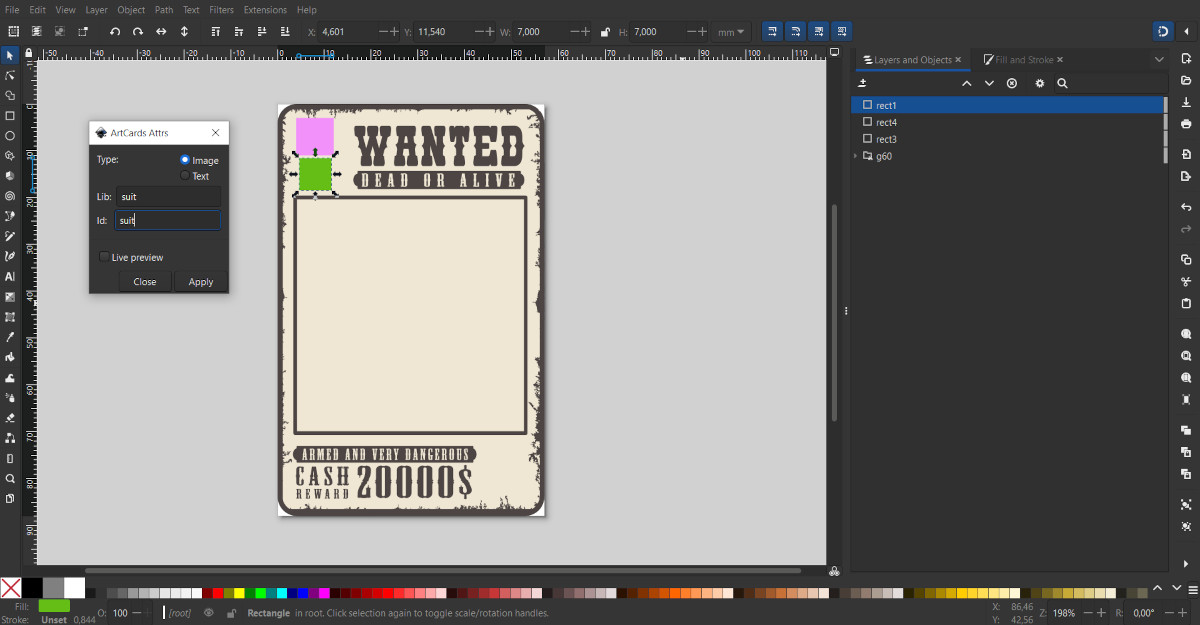
Add a new rectangle to show the card suit.
Assign the same attributes to it, but with the "suit" value for "lib" and "id" fields: Type: "image", Lib: "suit", Id: "suit".
Make a copy of these two rectangles, rotate them, and place them in the opposite corner of the card template.
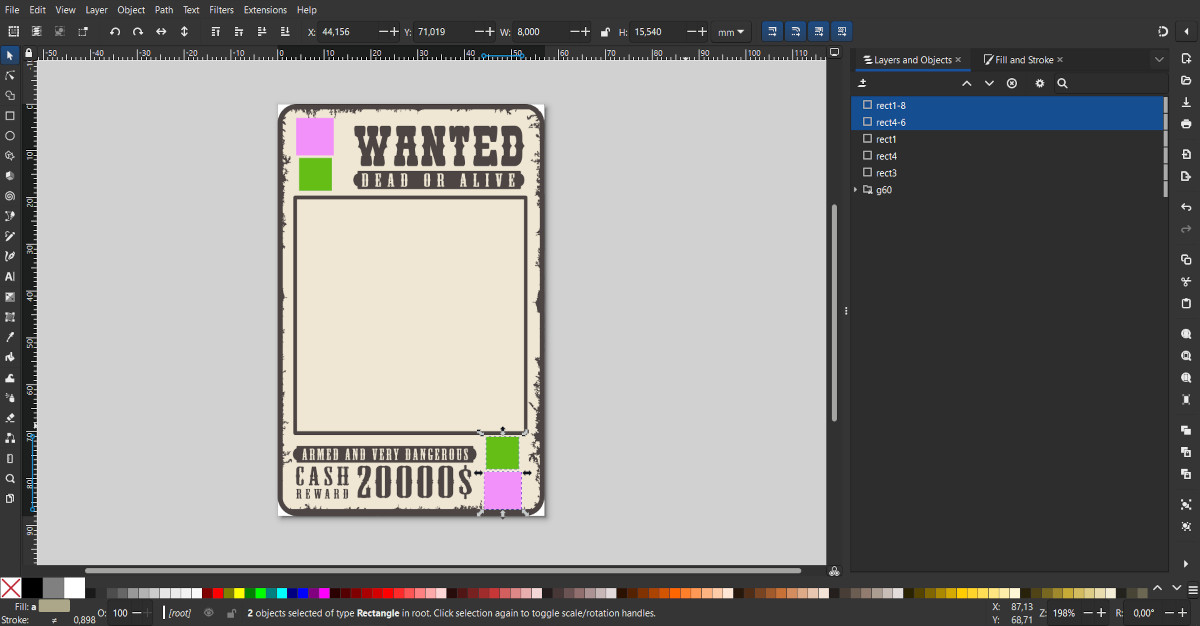
Since we made copies of the rectangles, all their attributes were also copied and there is no need to assign them again.
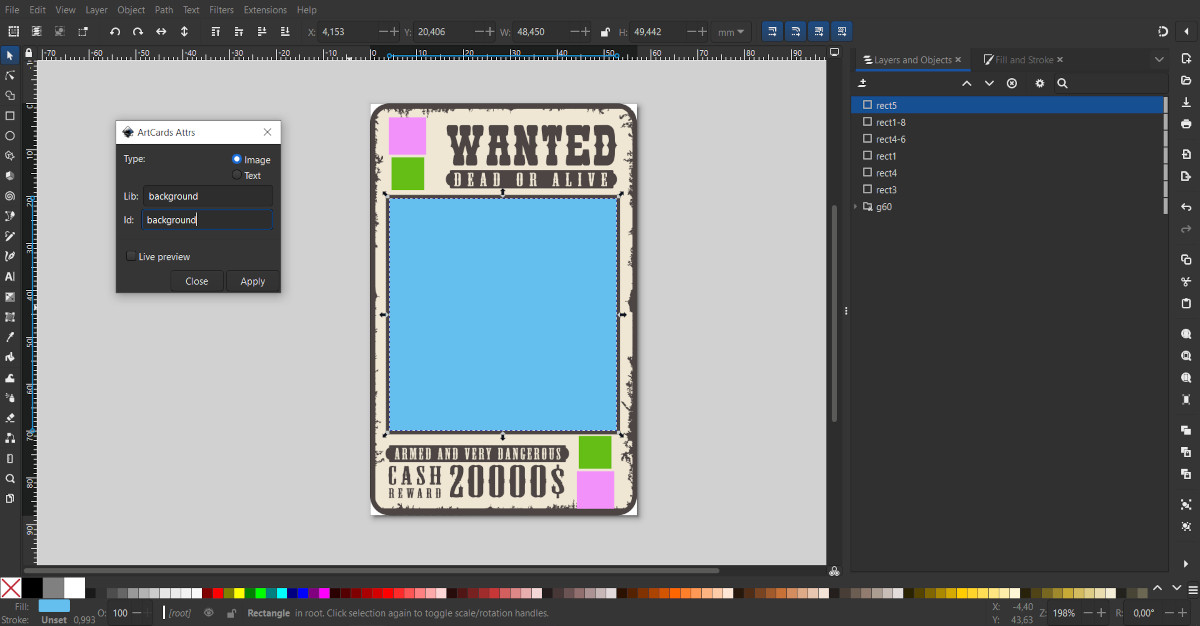
Add another rectangle for the central image.
Assign an attributes to it with the "background" values - this is the name of the built-in set of main images: Type: "image", Lib: "background", Id: "background".
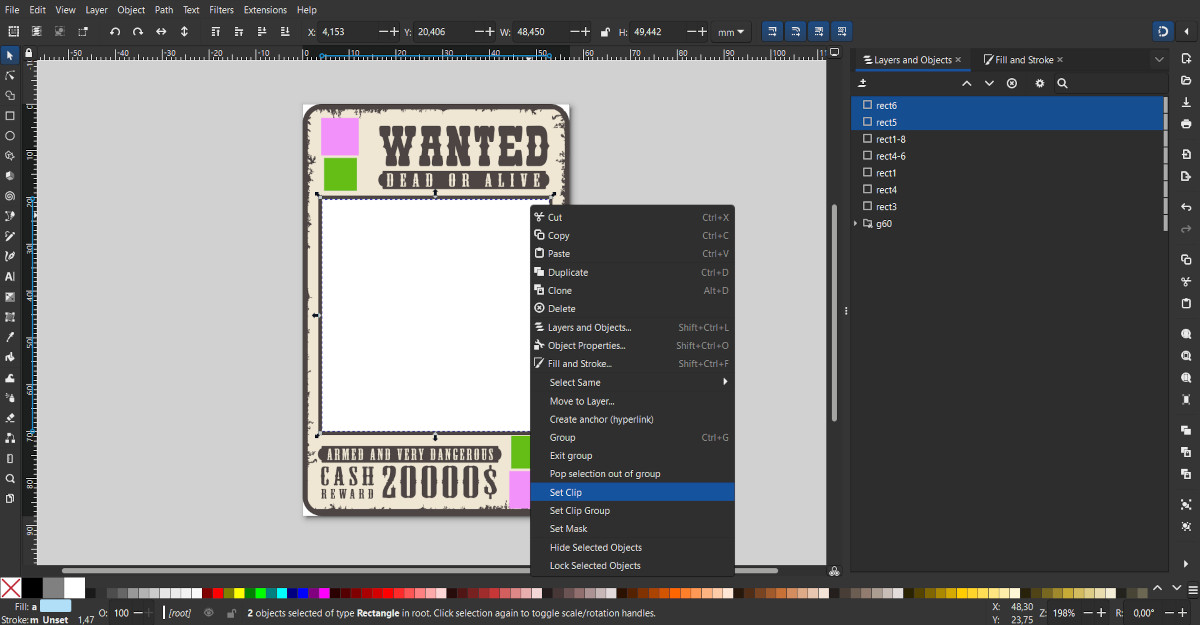
To disable images extend the specified area, add another same rect and set clipping for both objects.
Save file in SVG format.
Open the ArtCards configurator. Upload the created card template to the cards templates section in the assets panel.
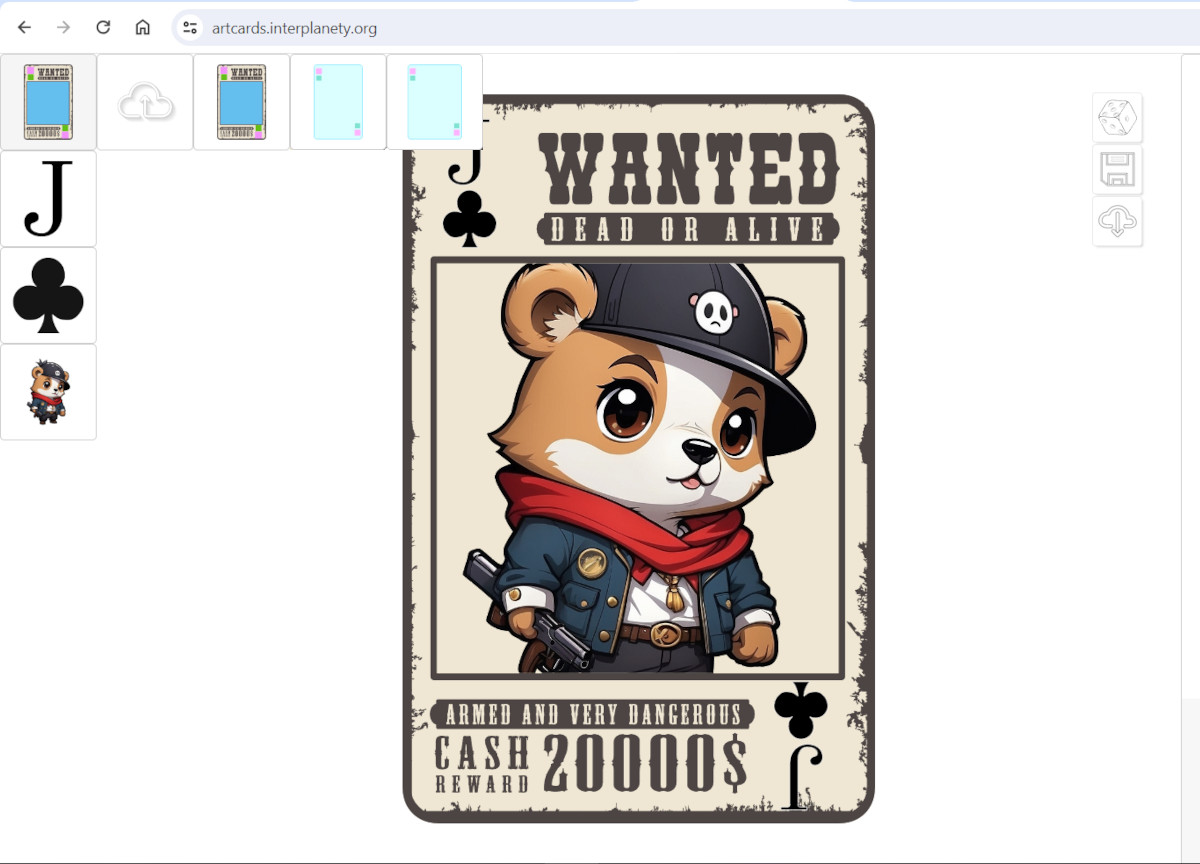
The template will be immediately filled with assets.
Customizing assets and selecting them from different sections of the assets panel, you can create a variety of playing cards using the uploaded template.